"Why Worry? Each of us is wearing an unlicensed nuclear accelerator on his back"
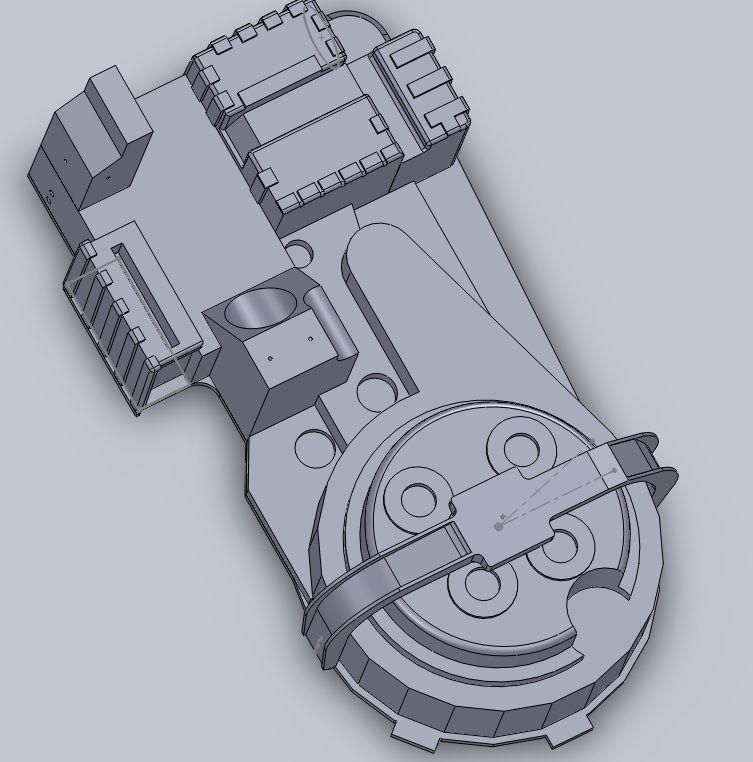
I have finally taken the plunge into building the greatest prop I could ever think of... The iconic Ghostbusters Proton pack!!
Since Ray and Egon accidentally "busted" a helpless maids cleaning chart in the Hotel Sedgewick, i have been in love with the Proton pack.
As a kid I had everything Ghostbusters, including the Proton pack, which looked nothing like the one from the movies, or even the animated show, The Real Ghostbusters. But I didn't care! I just wanted to catch some ghosts!
Now I'm all grown up....well.....older...and am finally going to realize my dream and build my self a pack!
I have been researching this for a long long time. Years of years of searching for parts and plans, instructions and tutorials and I have many a folder on my computer dedicated to this dream. Orinigally I was going to try and find a Proton Pack shell made of plastic and add all the bits and pieces, and add all the lights and sounds. From what I can see it's the easiest way to go about it (besides buying one right off eBay...but wheres the fun in that?!)
So after all that searching, I can't find anyone local who makes pack shells (Local is key, due to the cost of shipping)
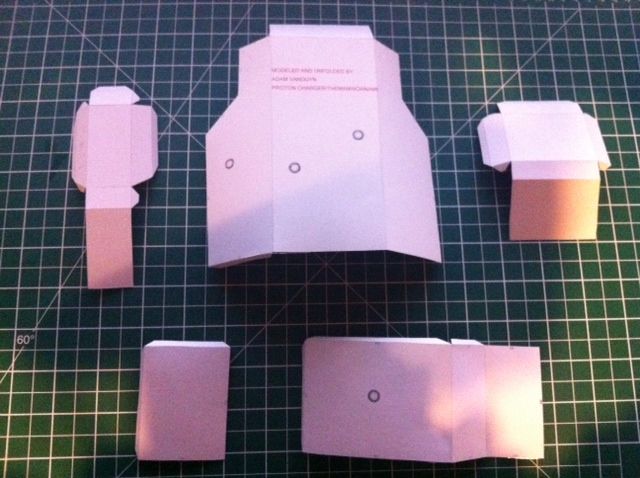
So again I start researching and found a builder who made his pack from pepakura (paper craft). I had just started building with pepakura my self so I was intrigued to say the least.
I found the best of the best pepakura proton packs on the GBFans forum.
These files were made by Adam VanDuyn and are by far the best files ive seen
 So here I sit, with a stack of 110lb card stock on my printer, getting everything I need to start this build!
I started with the very easy, smaller parts. The Ion arm and some spacers.

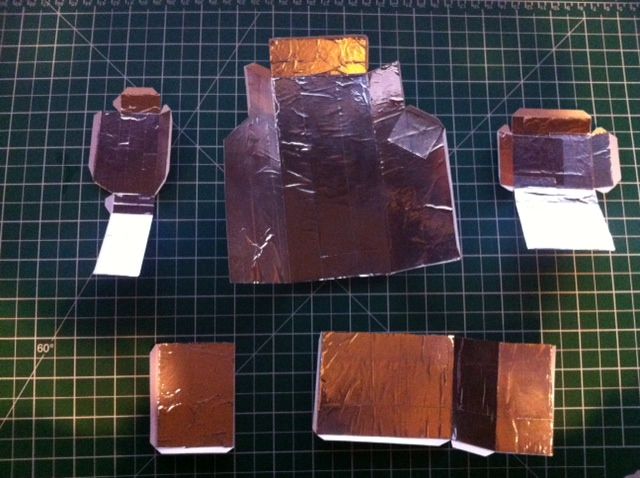
Every builder I found who has taken on the pepakura pack challenge has said that when applying the resin to strenghen the pieces, the weight collapesed them. They all said the same thing, to add aluminum foil duct tape to the back to strentghen them before resin. so i did!

This is where I am now. not much done I know but its a fresh build.
Just these pieces have gotten me so excited for this. I cant wait to see this thing come to life. I have a long long road ahead of me, but Im looking forward to every minute of it.
Next up I will be cutting folding and foiling the Power Cell and PPD box
I will be adding some photos to this blog but most of my progress pictures will be loaded to my new Facebook page.
PLEASE go there and hit LIKE!!!!!!!
Captain Halloween | Facebook Page
Thank you and wish me luck!!!!
"Maybe now you'll never slime a guy with a positron collider, huh?"
If you still have the pepakura file would you be up for sharing?
ReplyDeleteDo you still have the file?
ReplyDelete